All Posts By

archivemanagement

This school doubled the amount of vacant space in its archive shed

By Case study, Tips and Advice


We see this a lot at schools, where the mounting headache of overflowing records reaches tipping point.

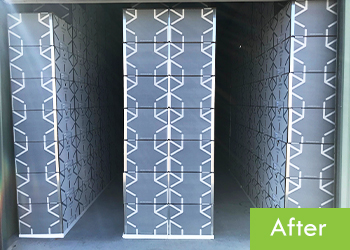
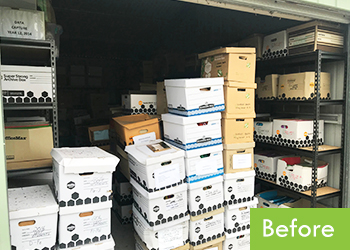
This shed at Elanora State High School in Queensland was at 100% capacity, literally overflowing with records. After we were finished with it, they had 40% vacant space to play with. Same volume of paperwork, same size area, just a smarter system.

What it took

Our team pulled all the material out, installed the new archive system, sorted the documents, re-packed them into the new system and catalogued the contents into a simple database.

When we arrived, important records were beginning to find their way to random corners of the grounds, just waiting to be misplaced. You can imagine the ensuing nightmare when it came to retrieving the right document when needed!

Don’t put it off

Clients like this know something needs to be done about the growing problem, but a clean up can be, understandably, daunting. It took our team of experts almost four days to turn this school’s headache around! You can imagine how long it would have taken its own already-stretched human resources.

The job was completed during school holidays, ready and waiting for the client when they arrived back in the new year. And now that it’s been established – with 40% extra space freed up for future records – they can simply add to the existing system as required. They can also now easily retrieve what they need by referencing the database we provided for them.

Why it works better than your alternatives

Given this school’s storage shed is located a fair walk from the administration building, we also created a smaller “audit system” in the admin office. This was designed to store recent material more likely to be retrieved. Once full, these boxes of records will simply get added to the main system in the storage shed.

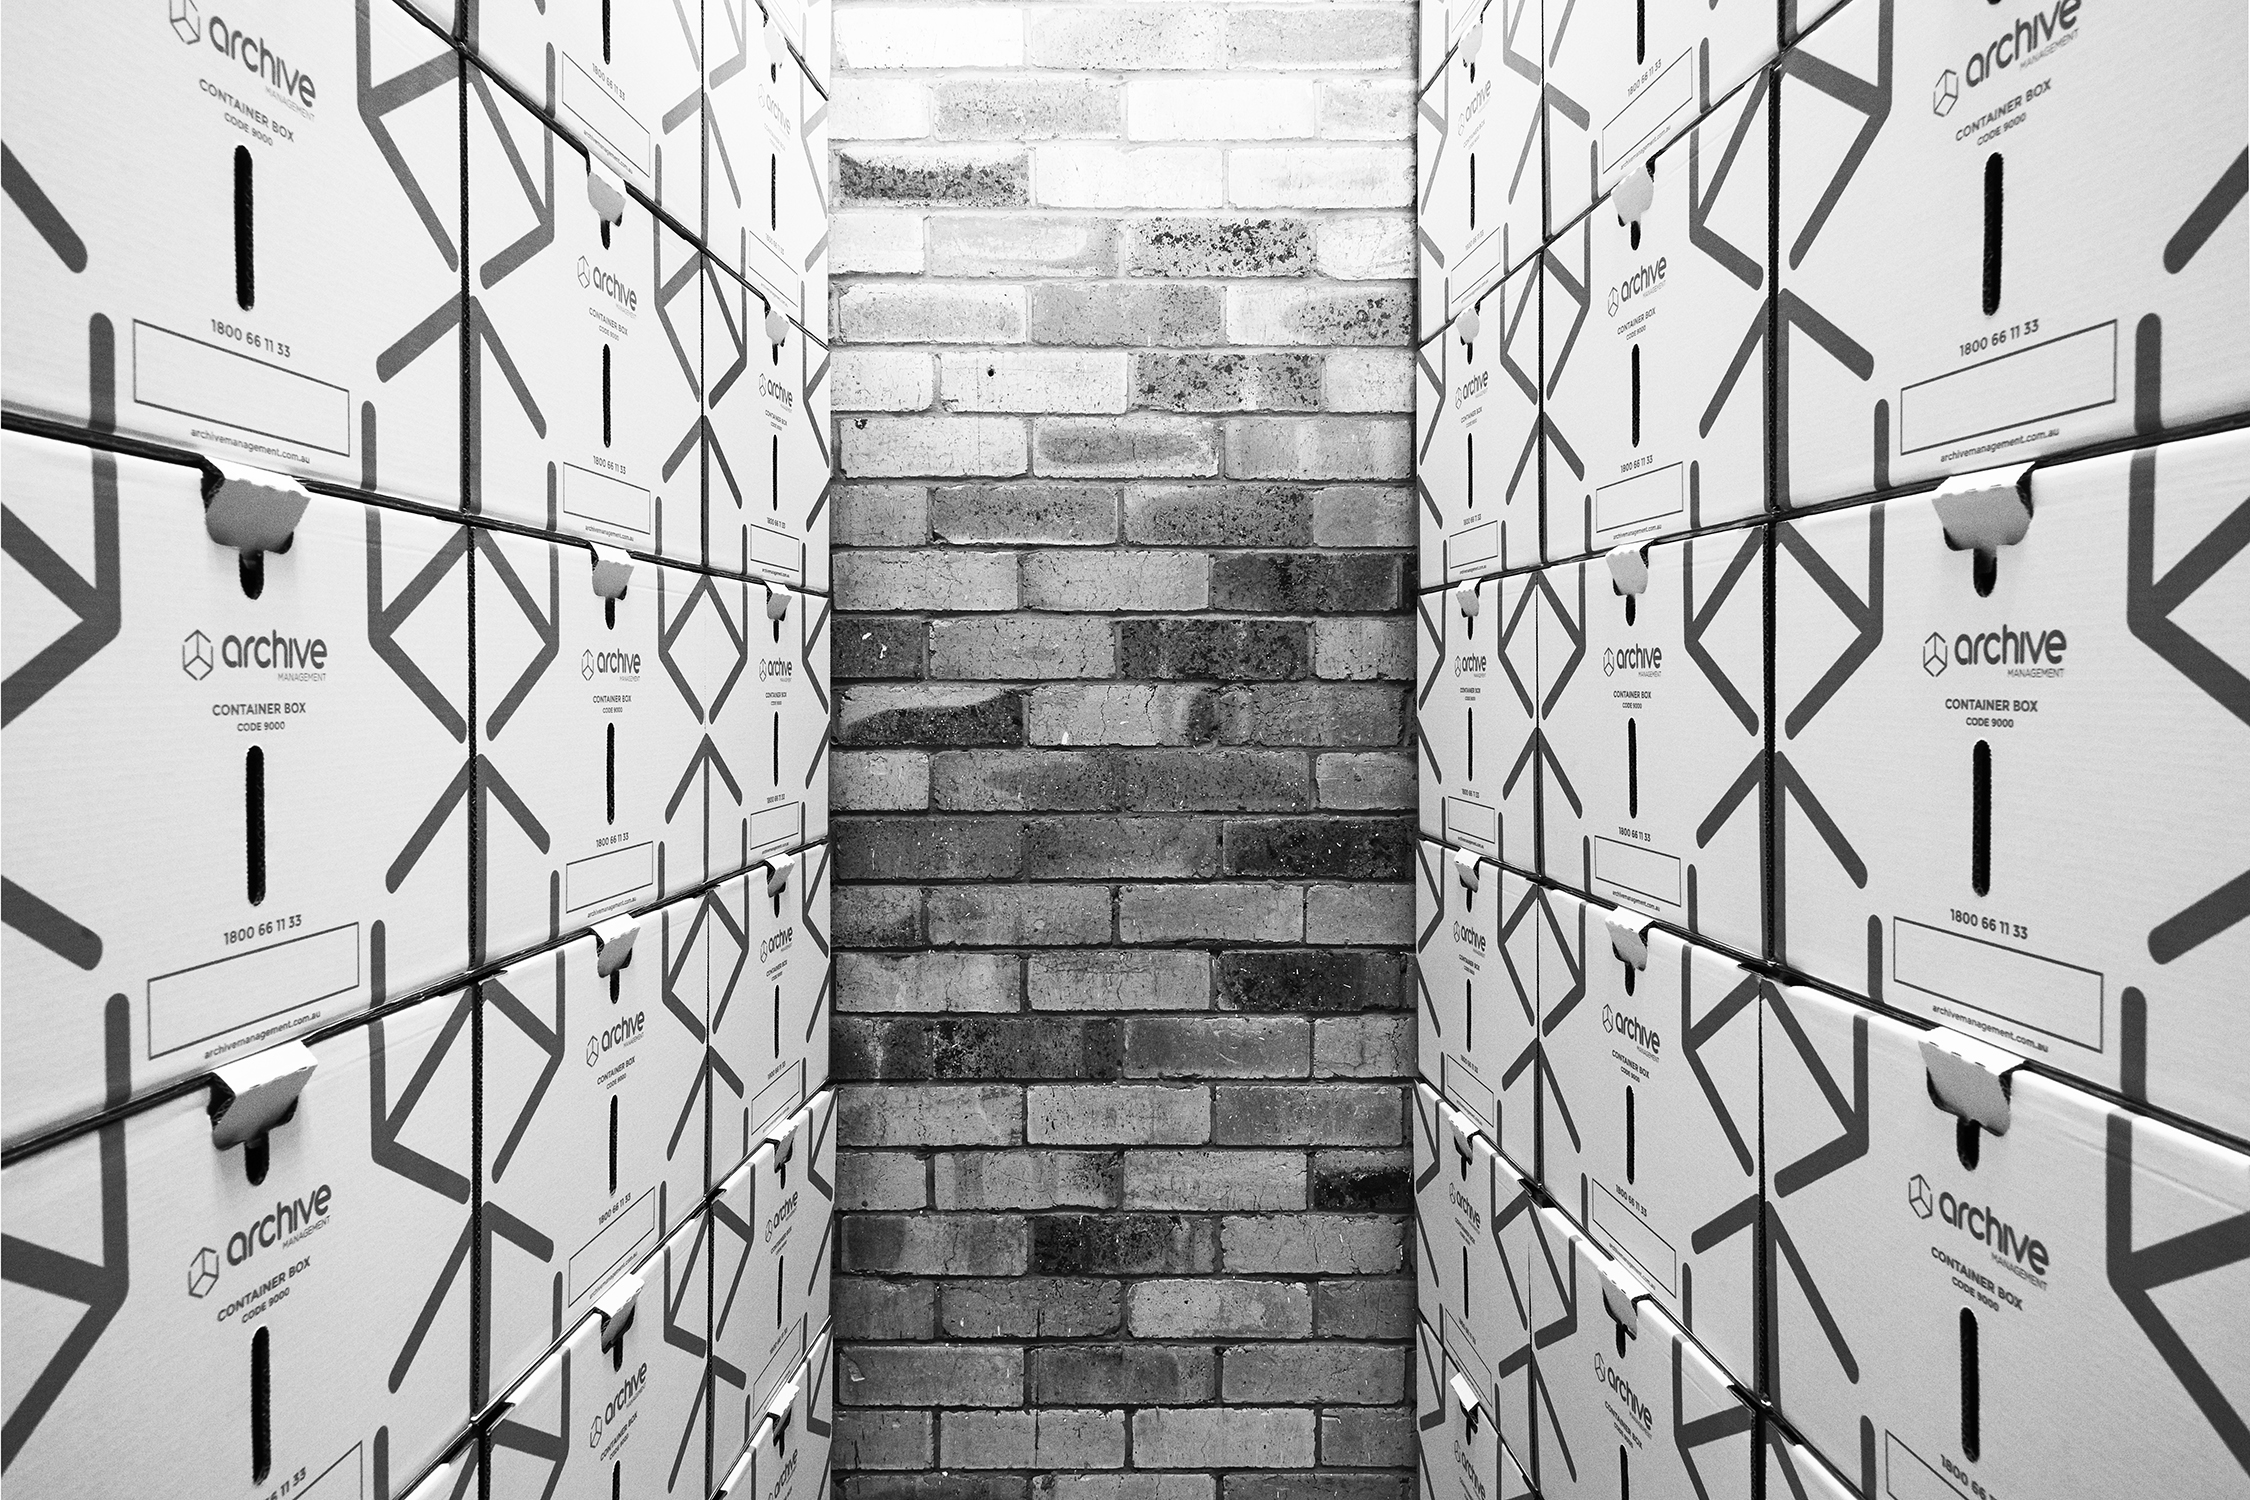
It’s this kind of adaptability that our modular and relocatable system offers that fixed shelving or compactuses simply cannot. We create systems big and small, to fit any kind of space. They can be broken up into separate sections, stacked up to nine boxes high if needed while remaining completely freestanding. No shelving or support walls needed. You can imagine the efficiency of such a flexible system and how we saved this school so much space!
Why you need an Archiving Policy and where to start

By Tips and Advice

While archiving is sometimes low on the priority list, we can all appreciate its role, particularly when you need to retrieve that critical document in a hurry.

Keeping a simple and effective Archiving Policy that staff adhere to is so important, sometimes essential, in running a smooth operation.

It’ll help you find material when you most need it, minimise accumulation of material you don’t need to keep and help ensure you meet your legislative requirements.

We’ve collated a few steps to help you on your way to creating an Archiving Policy that works:

Step 1. Identify who is responsible for archiving, and commit to documenting a procedure.

Step 2. Identify the document types that are generated and kept by your organisation, and for how long (retention schedule).

Step 3. Determine how records are to be physically stored. Boxes on shelving, compactus, offsite, or better still in an Archive Management Storage System! The efficiency of your system and ease of access to records are key considerations.

Step 4. Develop a form for submission of new archive material. This may be as simple as a one-page printed form to be attached to boxes, or something more elaborate like a Google form that then populates responses into an archive spreadsheet. Details this form should capture are things like:

  • Author or staff member adding material
  • Date of submission
  • Document type and date (or date range of documents within box)
  • Retention period
  • Destruction date
  • Contents of box

Remember, the quality of this data will heavily influence your ability to find records in the future, and destroy them when the time comes.

Step 5. Establish a system for managing the archive catalogue. It’s best to avoid the scenario of having a room full of labelled boxes and no idea of where anything is located.

The first step is to number/label your boxes that correspond with an external catalogue of the metadata captured in the form (explained in step 4 above). This catalogue may simply be a print out of the archive forms, arranged in order of box numbers.

Better still, an electronic catalogue of the contents of your archive material will make life much easier when it comes to finding records and making the decision to destroy them. This could simply be a spreadsheet, with the row headers corresponding to the form questions.

Step 6. Define access procedures. Access to archives should be restricted, and a note should be made of when records are removed and re-lodged.  

Step 7. Establish how to handle the destruction of records. Once retention schedules are set for particular document types, determine the process for destruction. Important questions to ask include:

  • Who is responsible internally?
  • Will destruction be outsourced to an accredited contractor?
  • How will destroyed records be documented?

Step 8. Review. Set a regular review date to assess how archiving is going.

  • Is the policy being followed?
  • Are we keeping the right documents, are we keeping too much?
  • Is our physical method of storage working well?
  • Are we keeping up with destruction schedules?

Follow these steps, and you’re on your way to having a best practice Archiving Policy that’ll help keep things in order. Contact us for more advice and to find out how we can help.

Getting your archives in order

By Tips and Advice

Where to start

Have your records become a headache? A creeping problem that gets bigger every year, making it seemingly harder and harder to tackle?
Sometimes you just need to make a start. Here are some tips on making the most of your new-found enthusiasm for archiving!

Keep in mind, the end game is being able to find documents in the future, and having confidence to destroy records when you’re ready and when legislation permits.

  1. Oversight

    Do you have an archive room where anyone is permitted to fill an archive box and dump it on a shelf? A common problem is having many ‘accumulators’ of archive material but no one person or team to oversee document management as a whole. Assigning responsibility will help ensure proper procedures are established and the system is adhered to.

  2. Categorise into document types

    Separating your archives into the various document types used in your organisation will make documents easier to find in the future, and easier to destroy when that time comes. Make a list of the key document types and archive appropriately.

  3. Catalogue

    The best time to give archive documents meaning so that you can find them in the future is at the time of archiving. This can be as simple as handwriting the key information on the boxes – document type, contents, destruction date. Or, better still, number all your boxes and create an external catalogue, even a simple spreadsheet. This should contain the box identification numbers along with all the key information you need to find the right records down the track and destroy them when due.

  4. Destroy

    Too much valuable space is wasted by old records that should be destroyed. Every industry will have legislated retention periods for particular document types. If your archives are grouped into these document types, and destruction information is assigned to the boxes, you should have confidence to securely destroy those records when the time comes. If there is some information deemed too important to destroy, identify these documents and archive them separately.

  5. Have a system

    Spend a little time developing a procedure for archiving in your organisation, and communicate this to everyone who fills boxes with paperwork for safe keeping. This can be as simple as a basic one-page template affixed to every box. Keep an eye out for our next blog on simple steps to establishing a proper procedure – sign up below to receive updates.